Enhancing Mockups
Turn supplier previews, generic mockups, and smartphone photos into professional product photos that convert.
Try these examples:
Why PODMocks?
New sellers often stick to default Printify or Printful mockups, which immediately scream "dropshipper."
Experienced sellers try to level up by buying mockups on Etsy, PlaceIt, or Creative Market. But this comes with its own trap:
- Wasted Time: Scouring marketplaces for hours to find a mockup that is both accurate and matches your brand's vibe.
- Manual Labor: Wrestling with Photoshop to warp, shade, and blend your design so it doesn't look like a sticker.
- The "Me Too" Problem: Even if you find a great mockup, your competitors can buy the exact same one. You still end up looking generic.
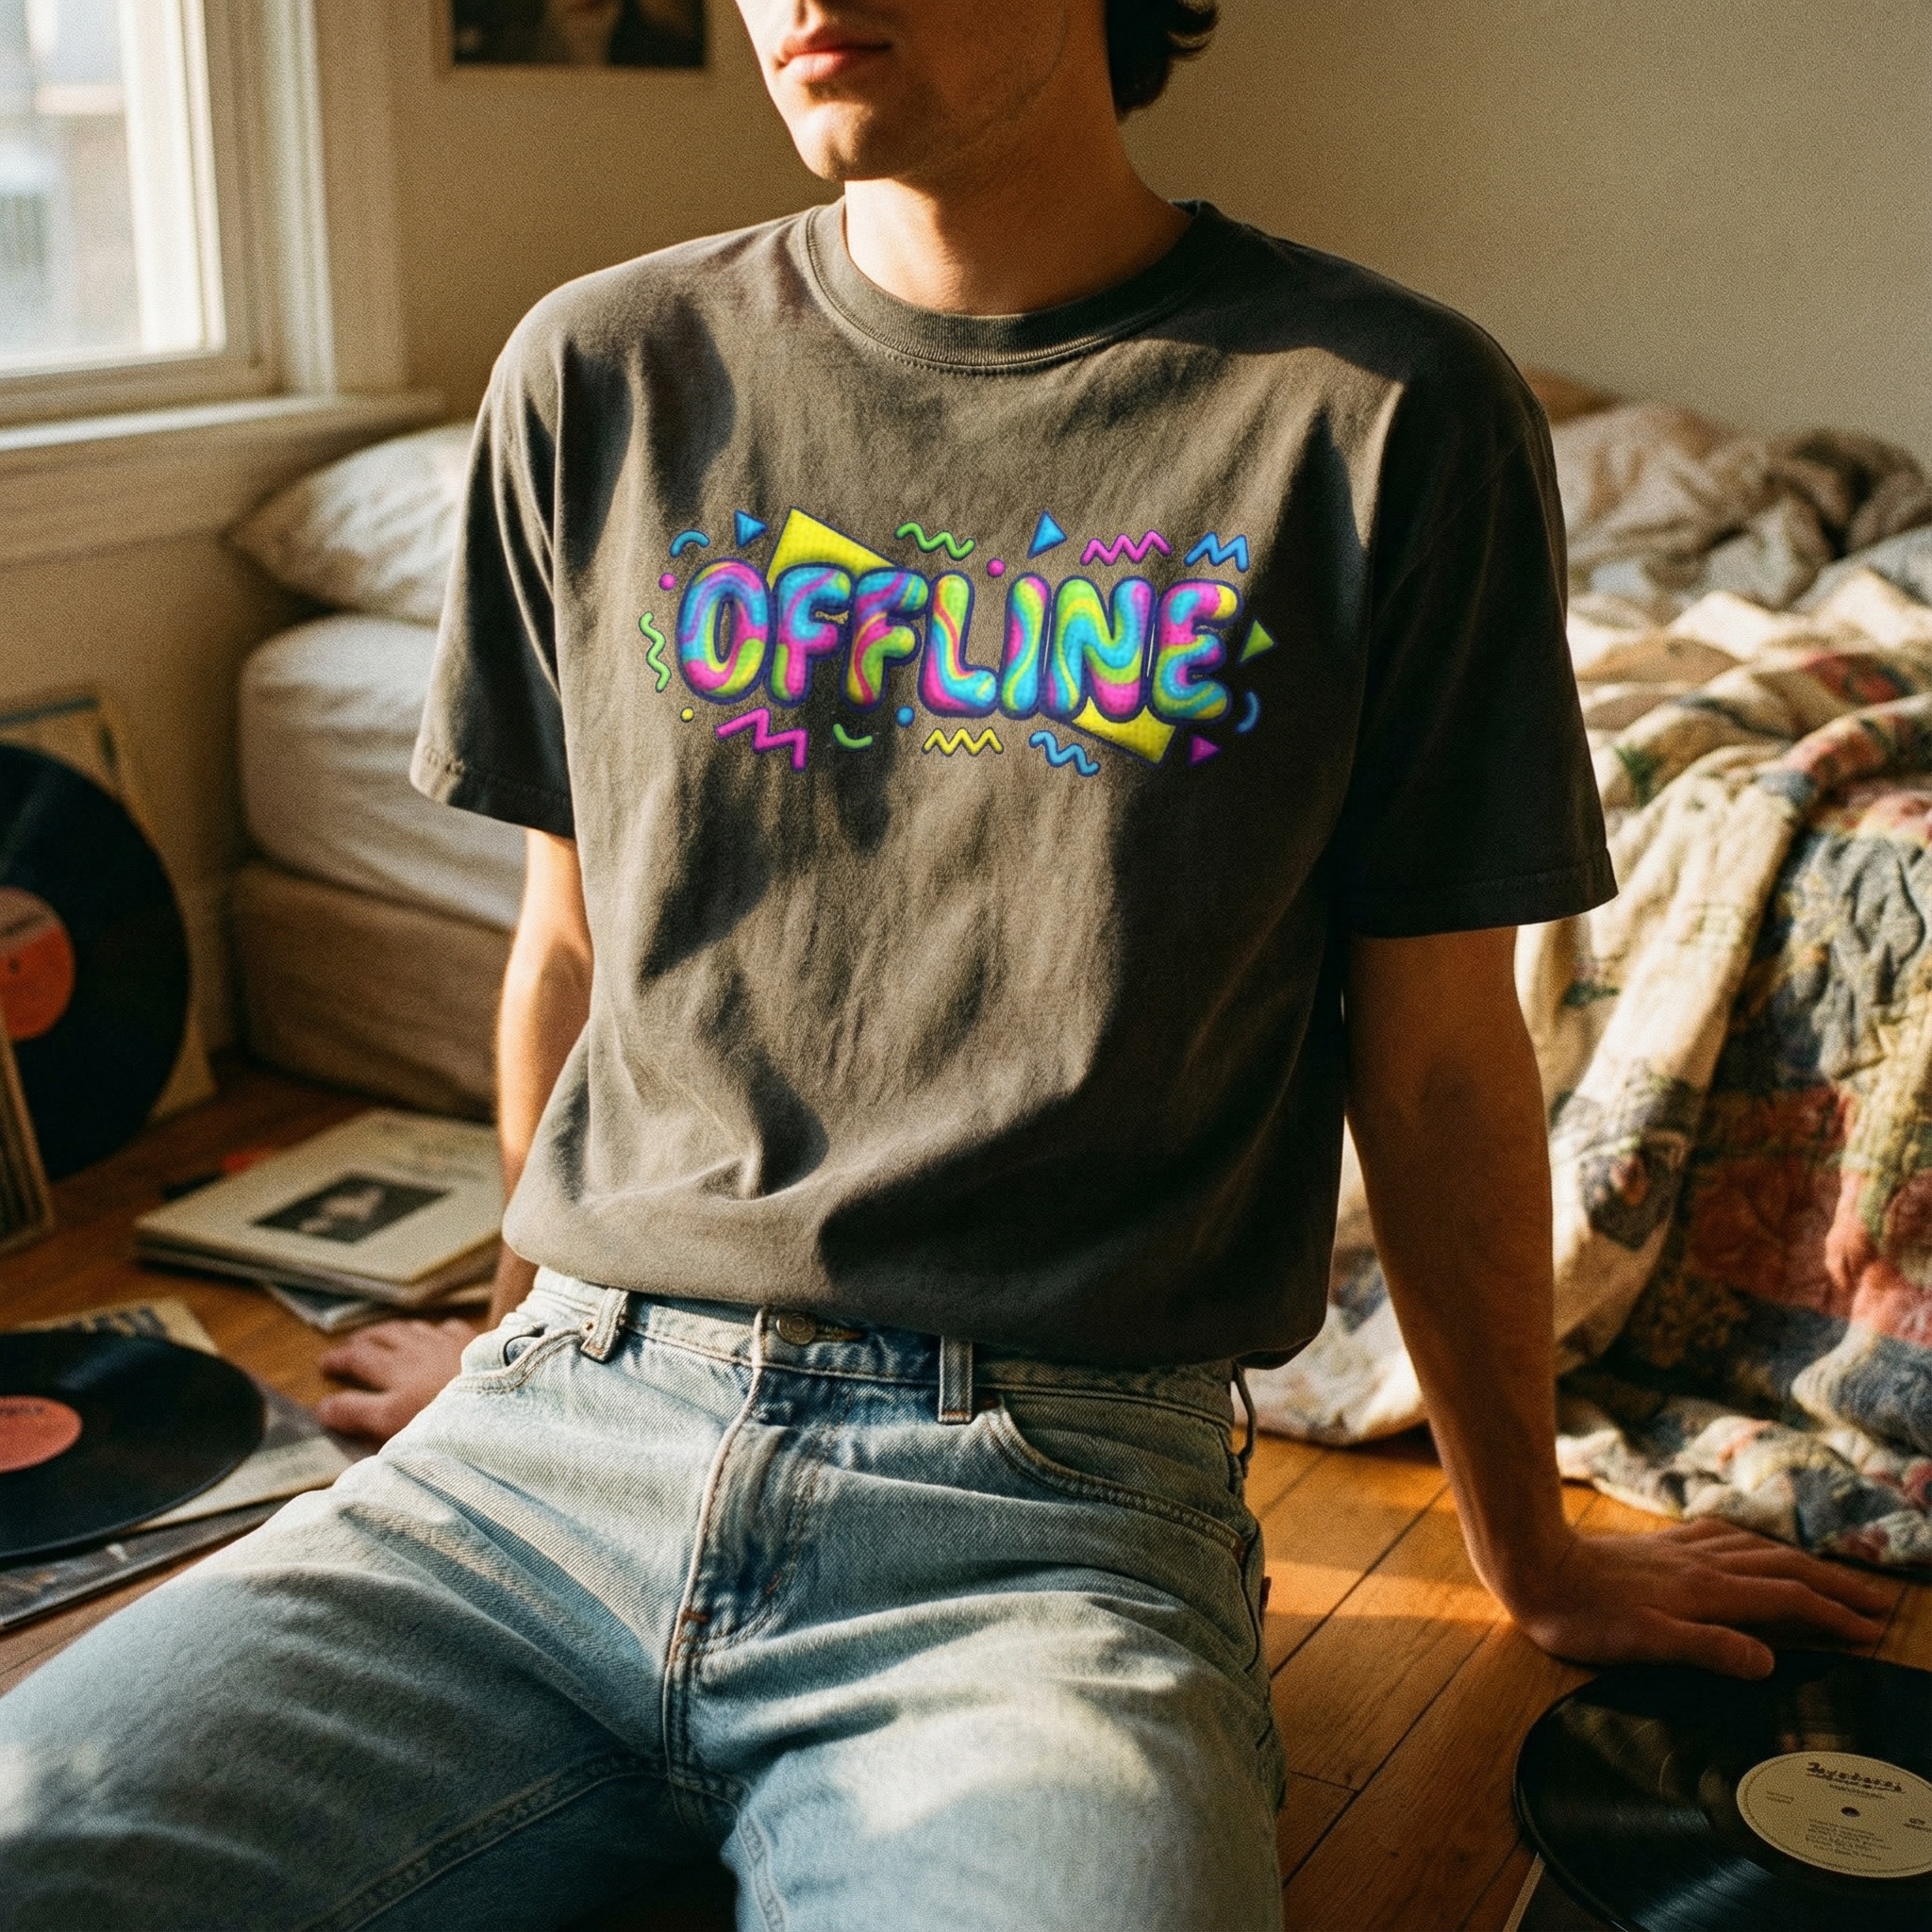
The Enhance tool in AI Studio solves this by taking any input—a boring supplier preview or a flat 3D render—and "re-imagining" it into a unique, high-quality lifestyle photo.
It preserves your design perfectly, but goes far beyond just adding a background. You can generate diverse models (specifying gender, age, and ethnicity), include specific props and context, and control the lighting to capture the exact vibe and emotion needed to sell your product.
Step 1: Upload Your Image
Navigate to AI Studio in the dashboard.
Drag and drop your mockup image into the upload zone. You can upload multiple images at once to generate them simultaneously.
The Enhance tool works perfectly with:
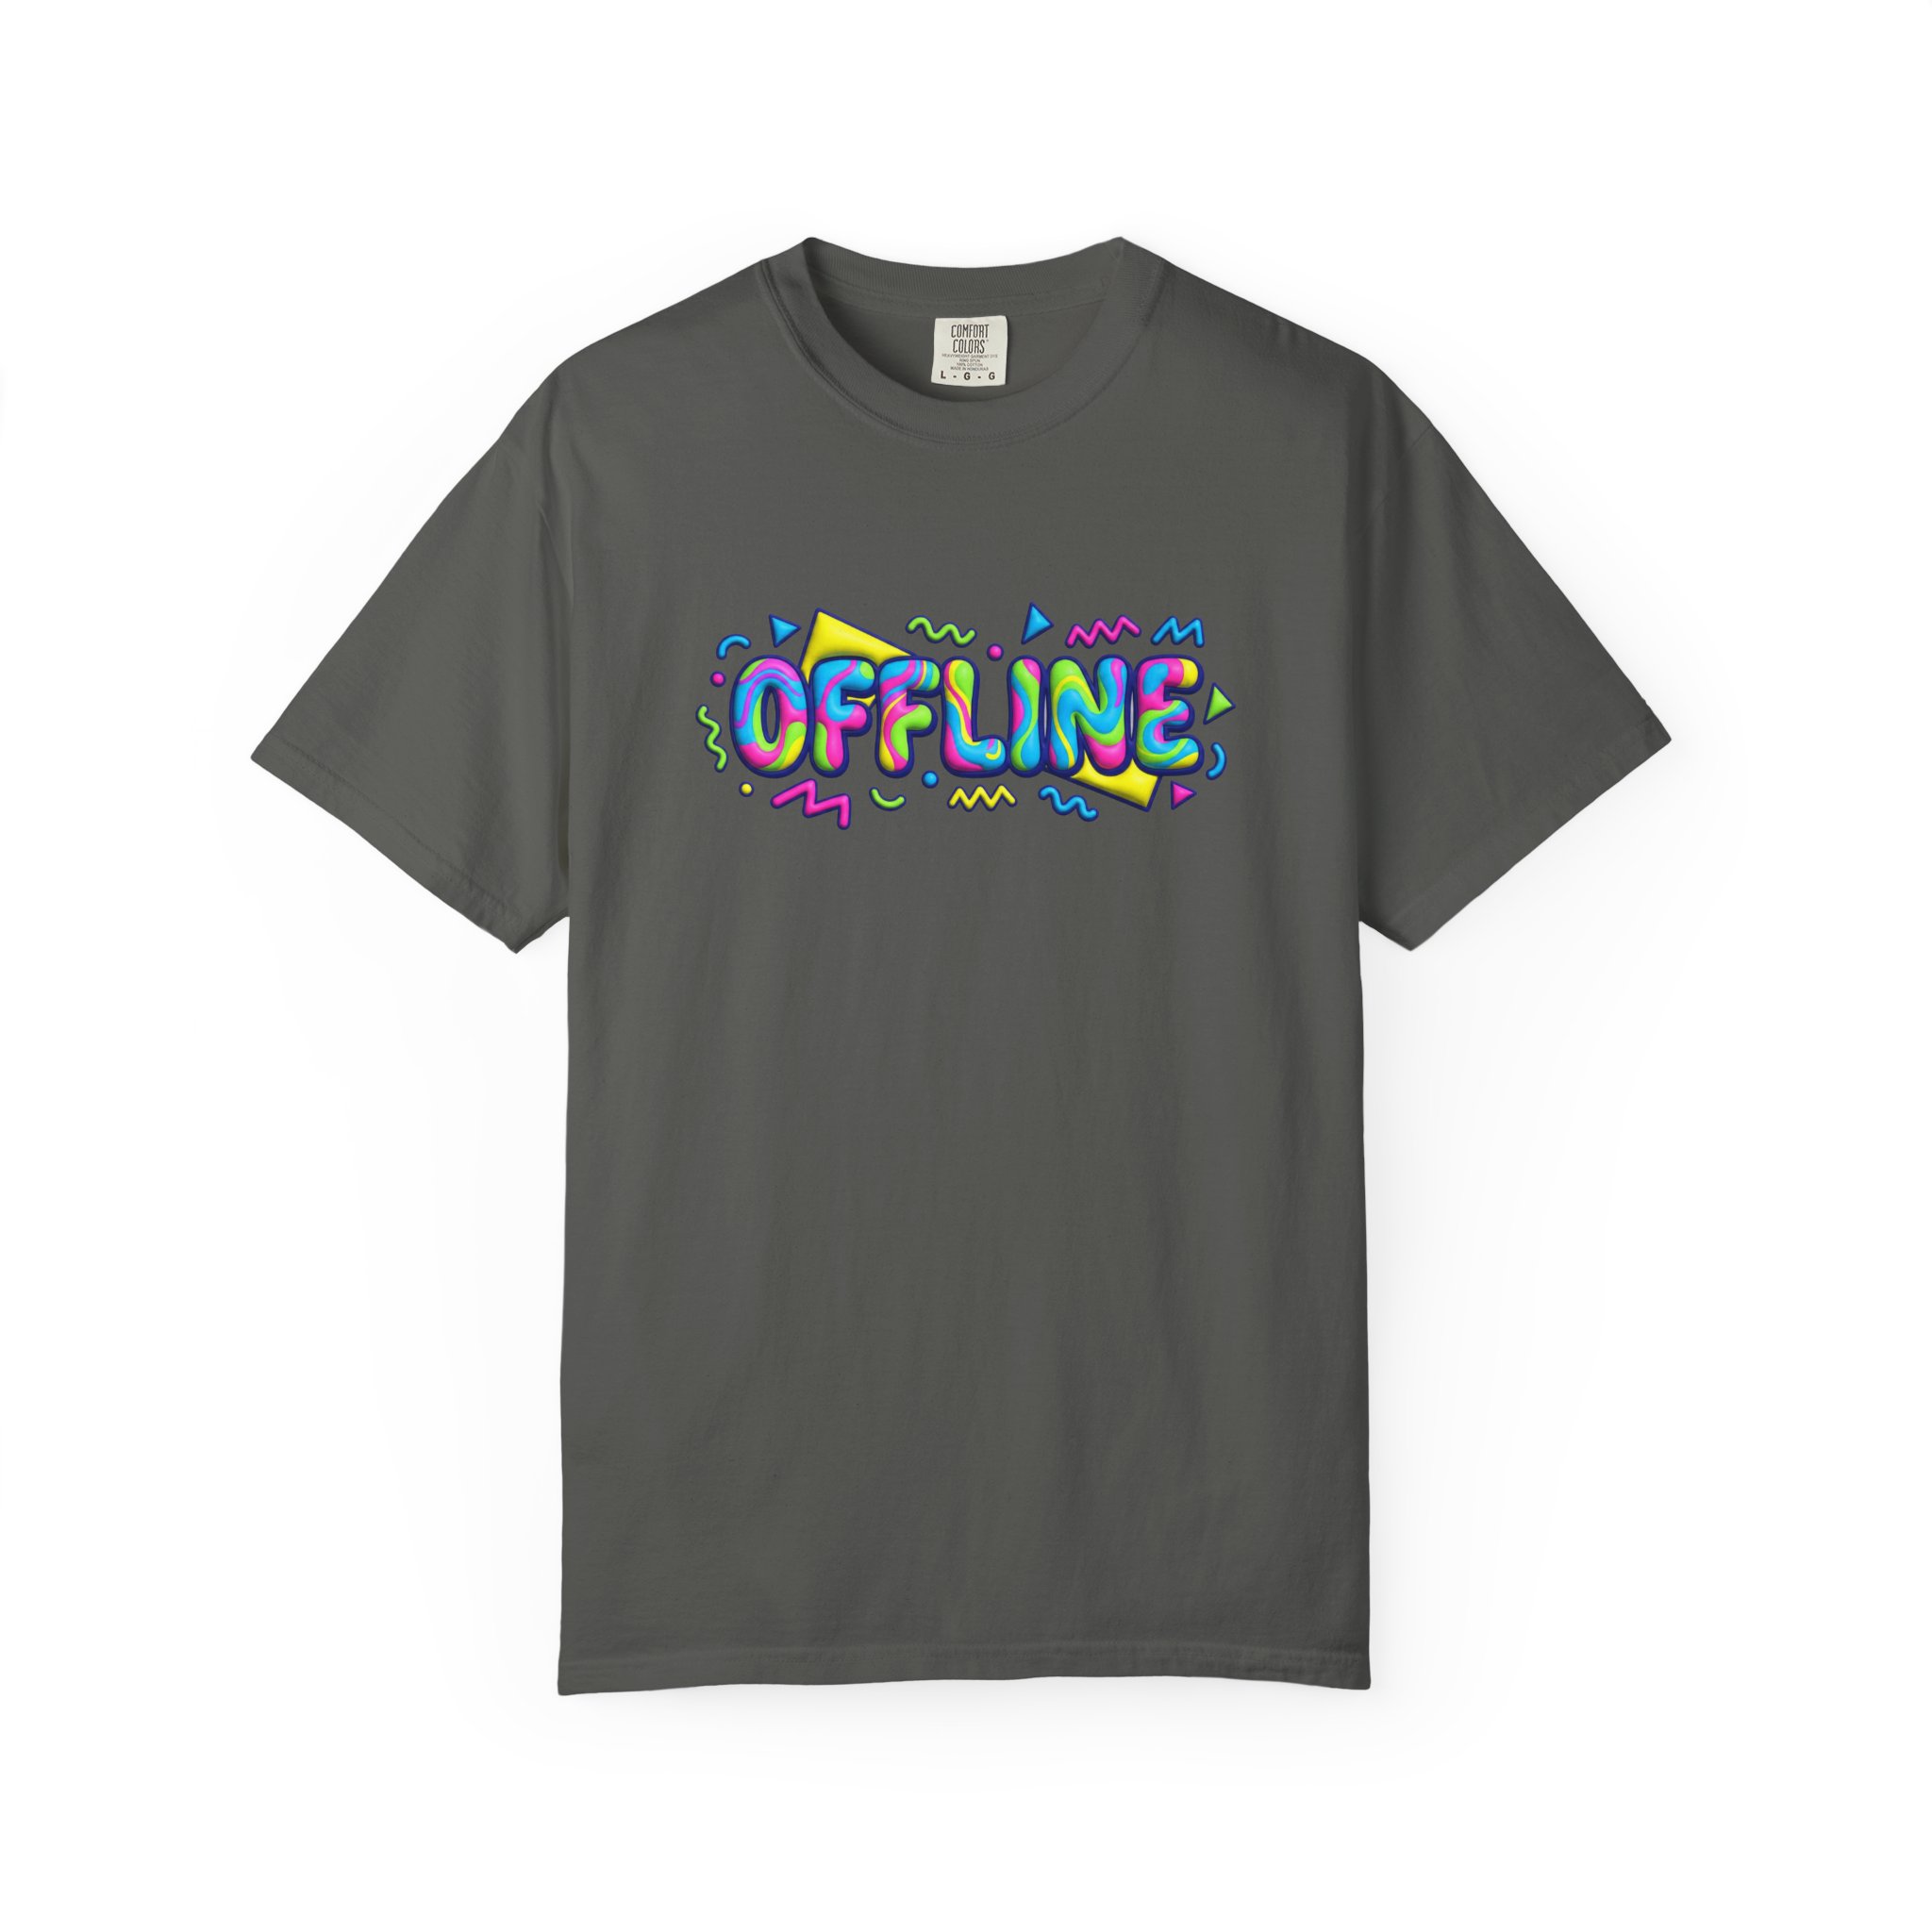
- Supplier Previews: Flat previews from Printify, Printful, or Gelato.
- Generic Mockups: Mockups from Etsy, PlaceIt, or Creative Market.
- Smartphone Photos: Quick photos you've taken of your own samples.
Your Input (Raw Printify Preview)Step 2: Enhance
By default, our AI automatically selects the best lighting, background, and style for your product. You don't need to adjust anything.
Click Enhance [X] Mockups to process all your images simultaneously.
- Parallel Processing: All your images generate at the same time.
- Fast: It takes about 30-60 seconds to finish the batch.
- Background: You can navigate away; we'll keep working in the background.
(Optional: If you want specific control, you can adjust the Visual Style or Aspect Ratio settings before clicking Enhance.)
Step 3: Download or Animate
Once finished, your new image will appear in the results grid.
- Download: Get the high-resolution image for your store.
- Generate Video: Click the "Generate Video" button to turn your static image into a moving video—perfect for social media ads.
Advanced: Settings & Prompts
While "Auto" works for 90% of cases, you can open the Configuration panel for total control.
1. Visual Style Presets
Force a specific vibe to match your brand:
- 🌿 Cozy Home: Warm, inviting, wooden textures (Great for blankets, candles, mugs).
- 🏙️ Urban Street: Concrete, city vibes, natural light (Great for streetwear).
- 🎨 Minimalist: Clean, pastel backgrounds, hard shadows (Great for art prints).
- 💎 Luxury Dark: Moody, high-contrast, premium feel (Great for jewelry).
2. Model (Human Presence)
Decide if you want a person in the shot:
- No Human: Focus entirely on the product (flat lay).
- Hands Only: Adds a subtle human touch without distraction.
- Full Body: Shows a model wearing or using the product naturally.
3. Custom Prompts
For users who want something specific, you can describe exactly what you want in the Custom Prompt field.
- "A t-shirt folded on a rustic wooden table next to a pumpkin spice latte, autumn leaves in background"
- "Model wearing sweatshirt leaning against a brick wall, golden hour lighting"
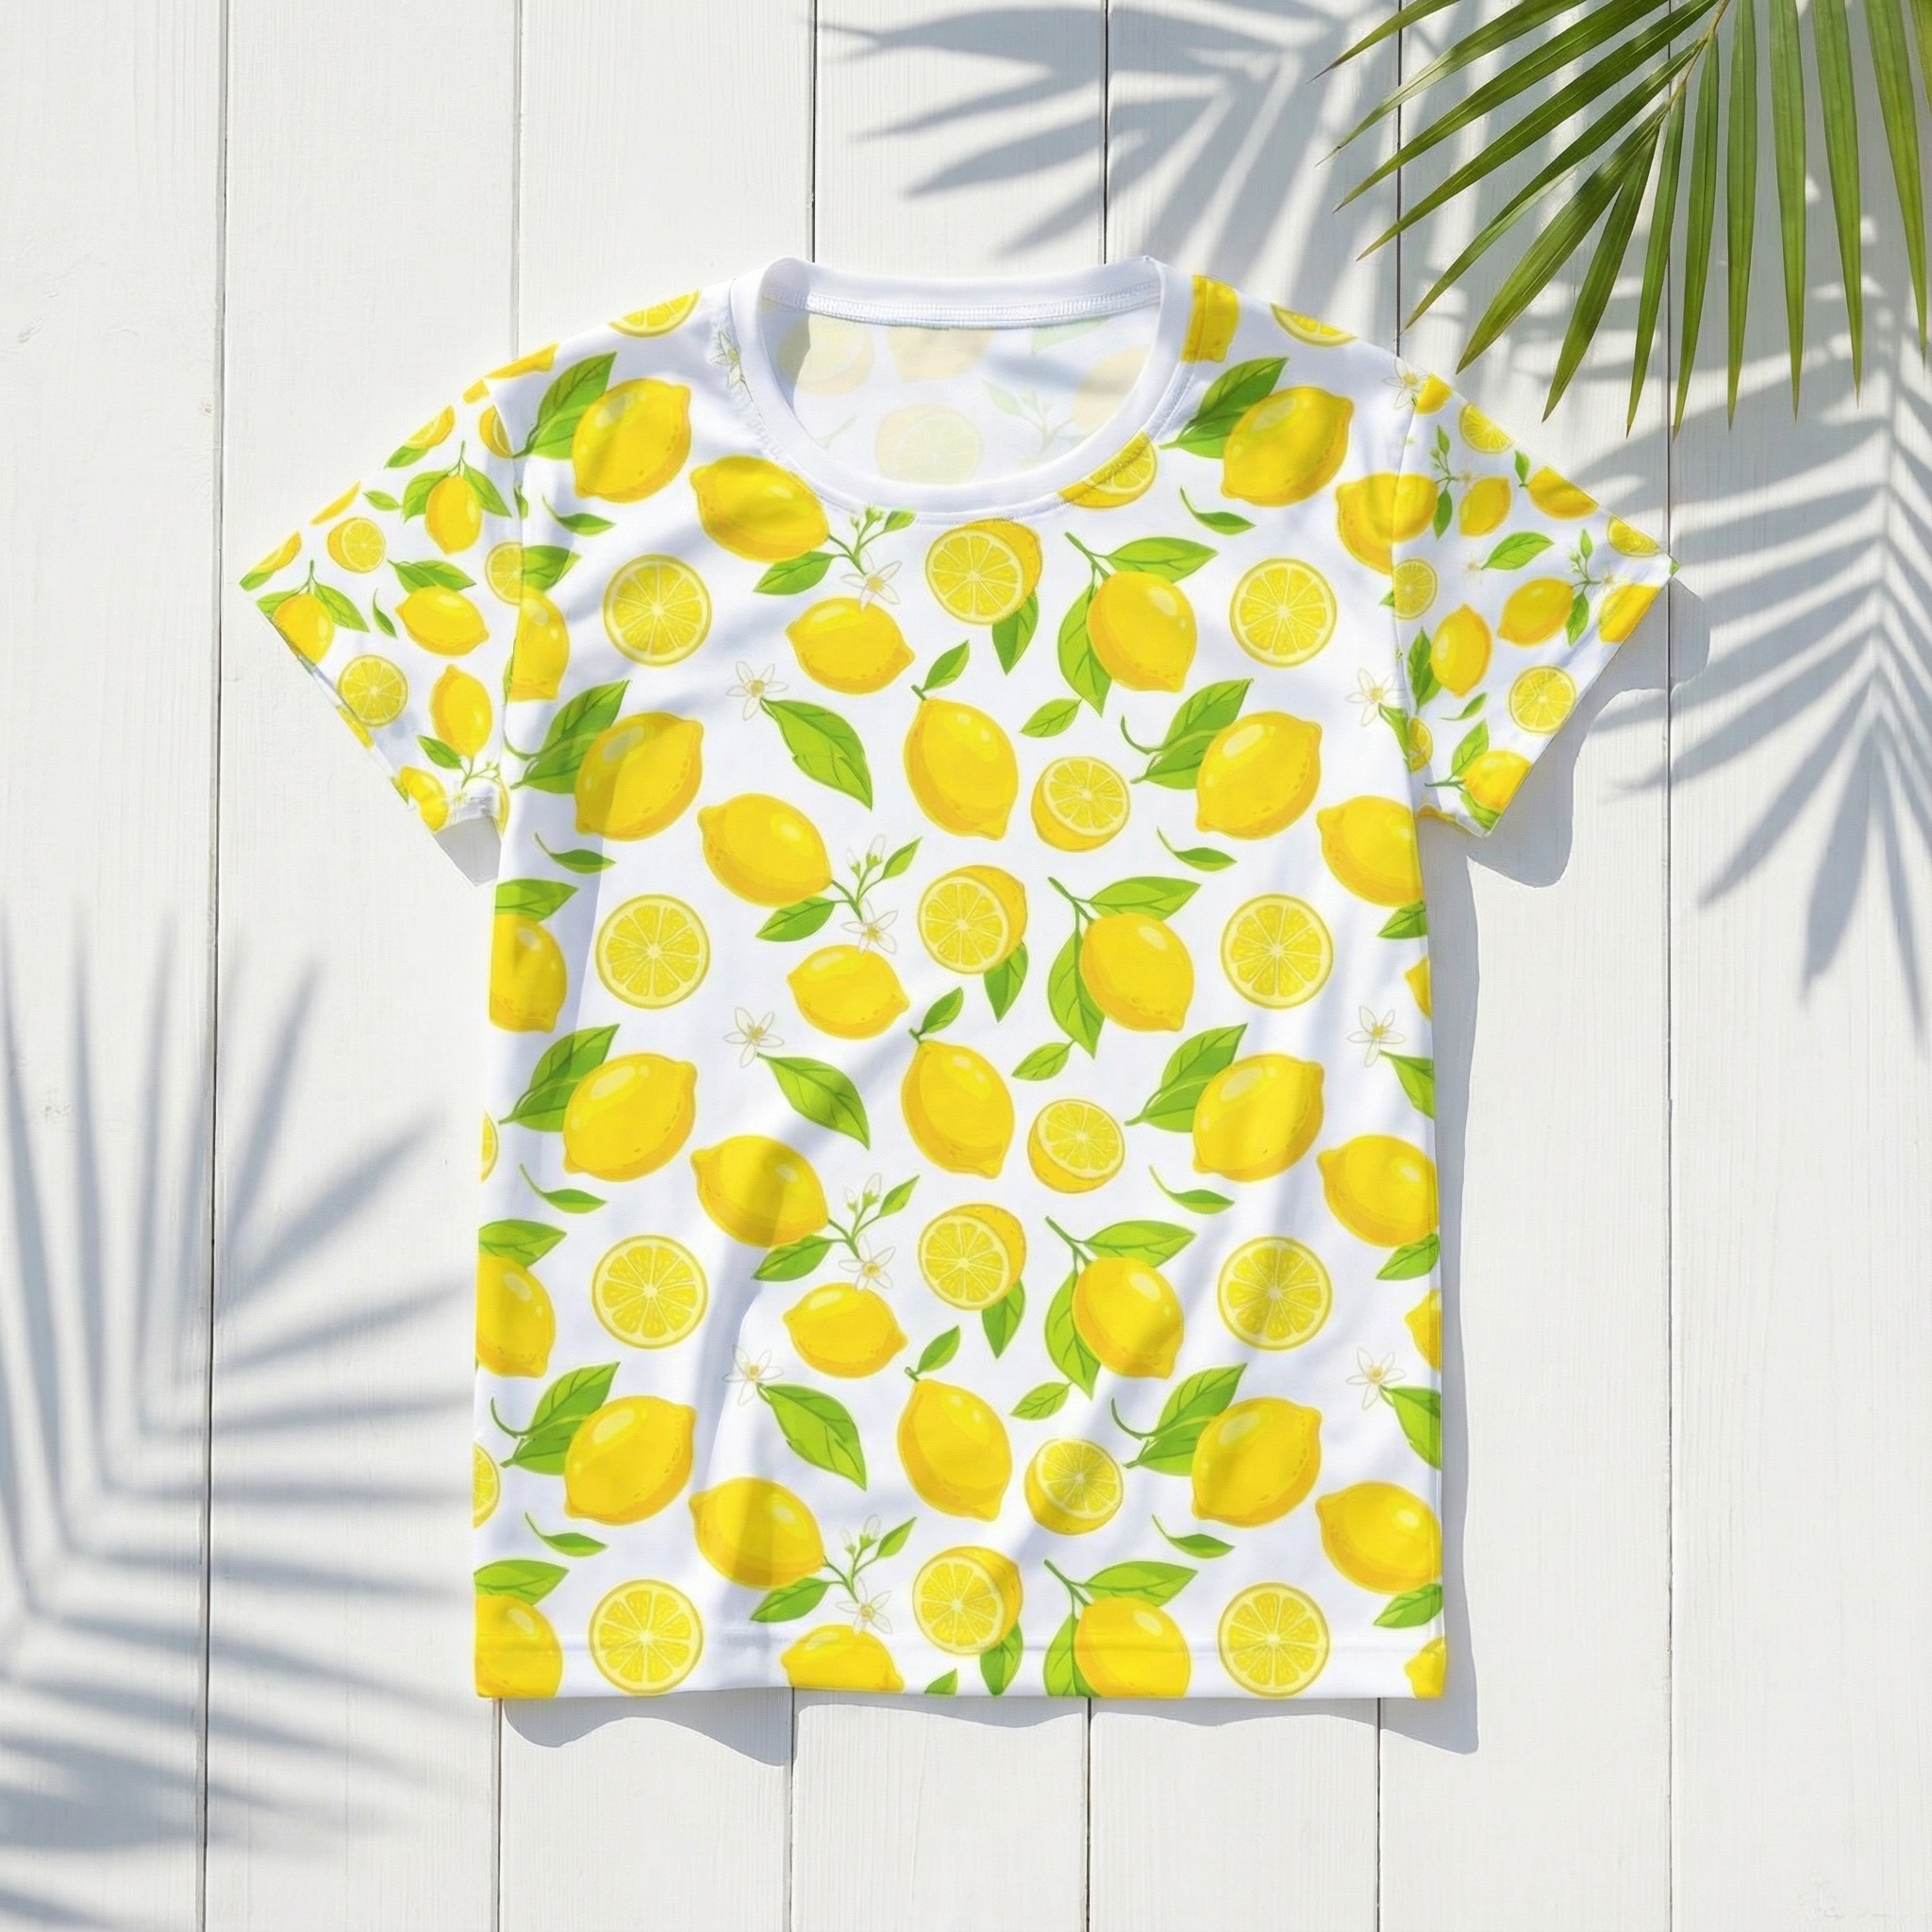 "Flat Lay"
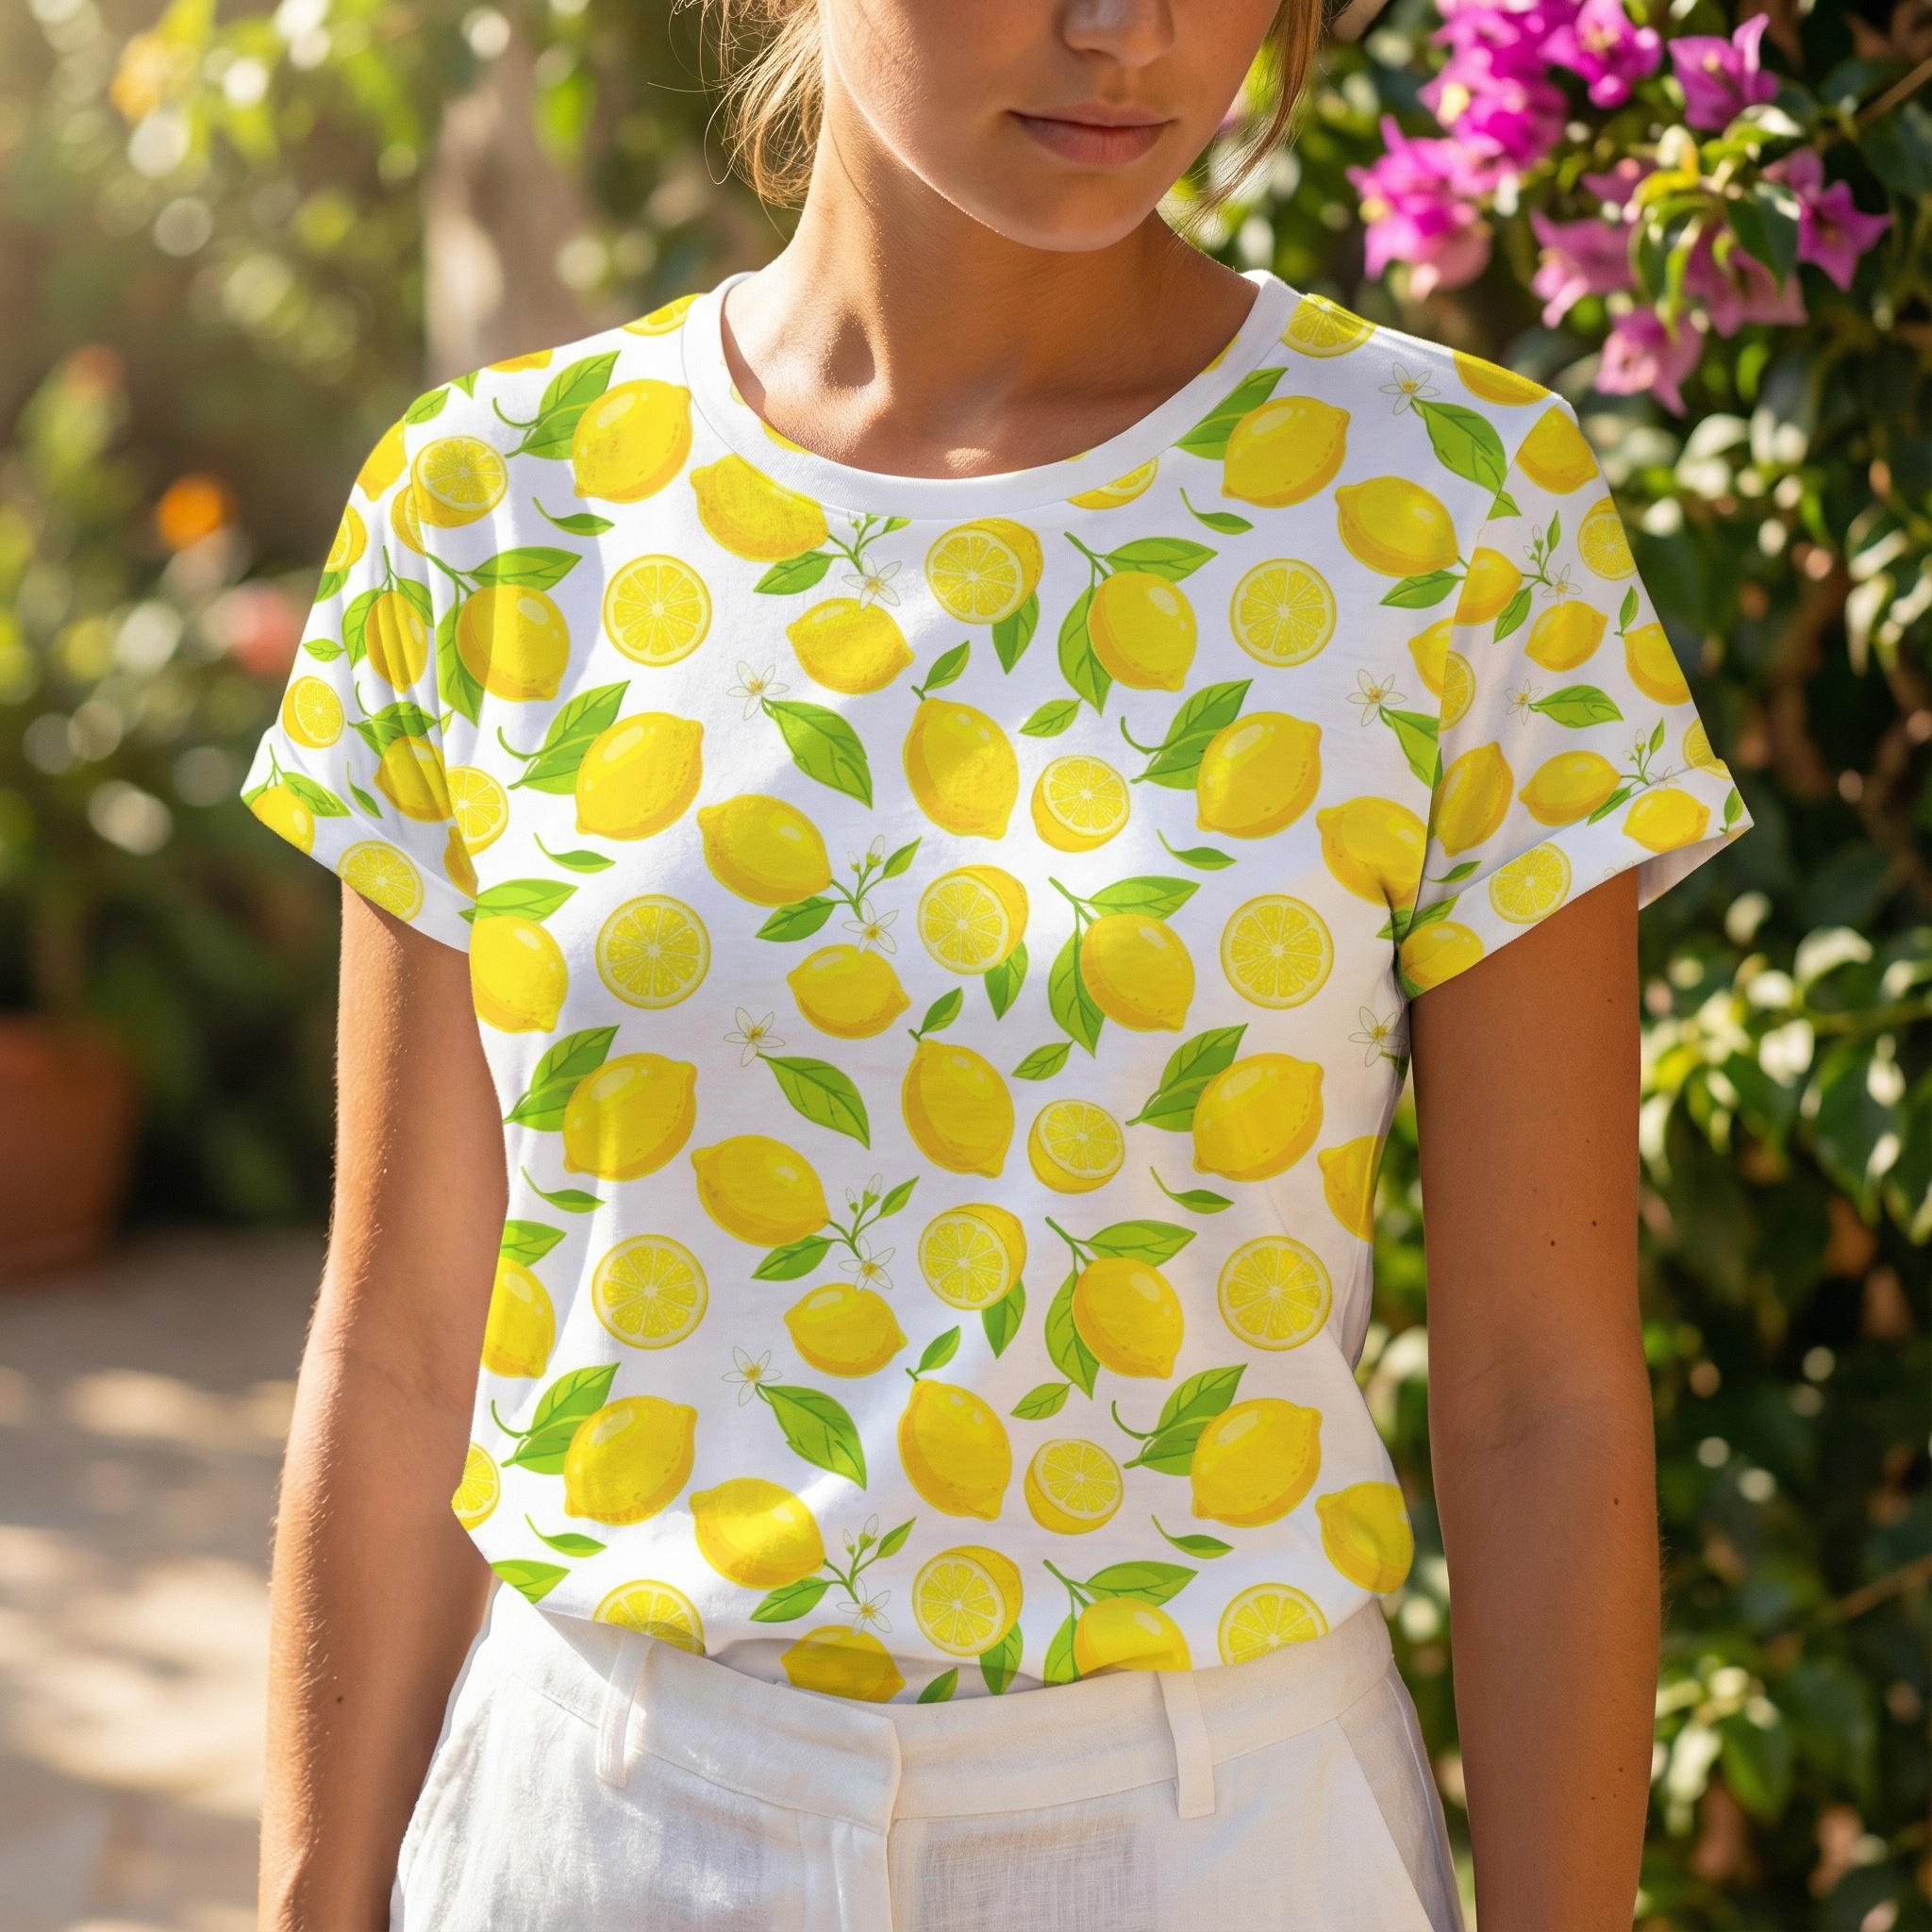 "Activewear with model, chin crop"
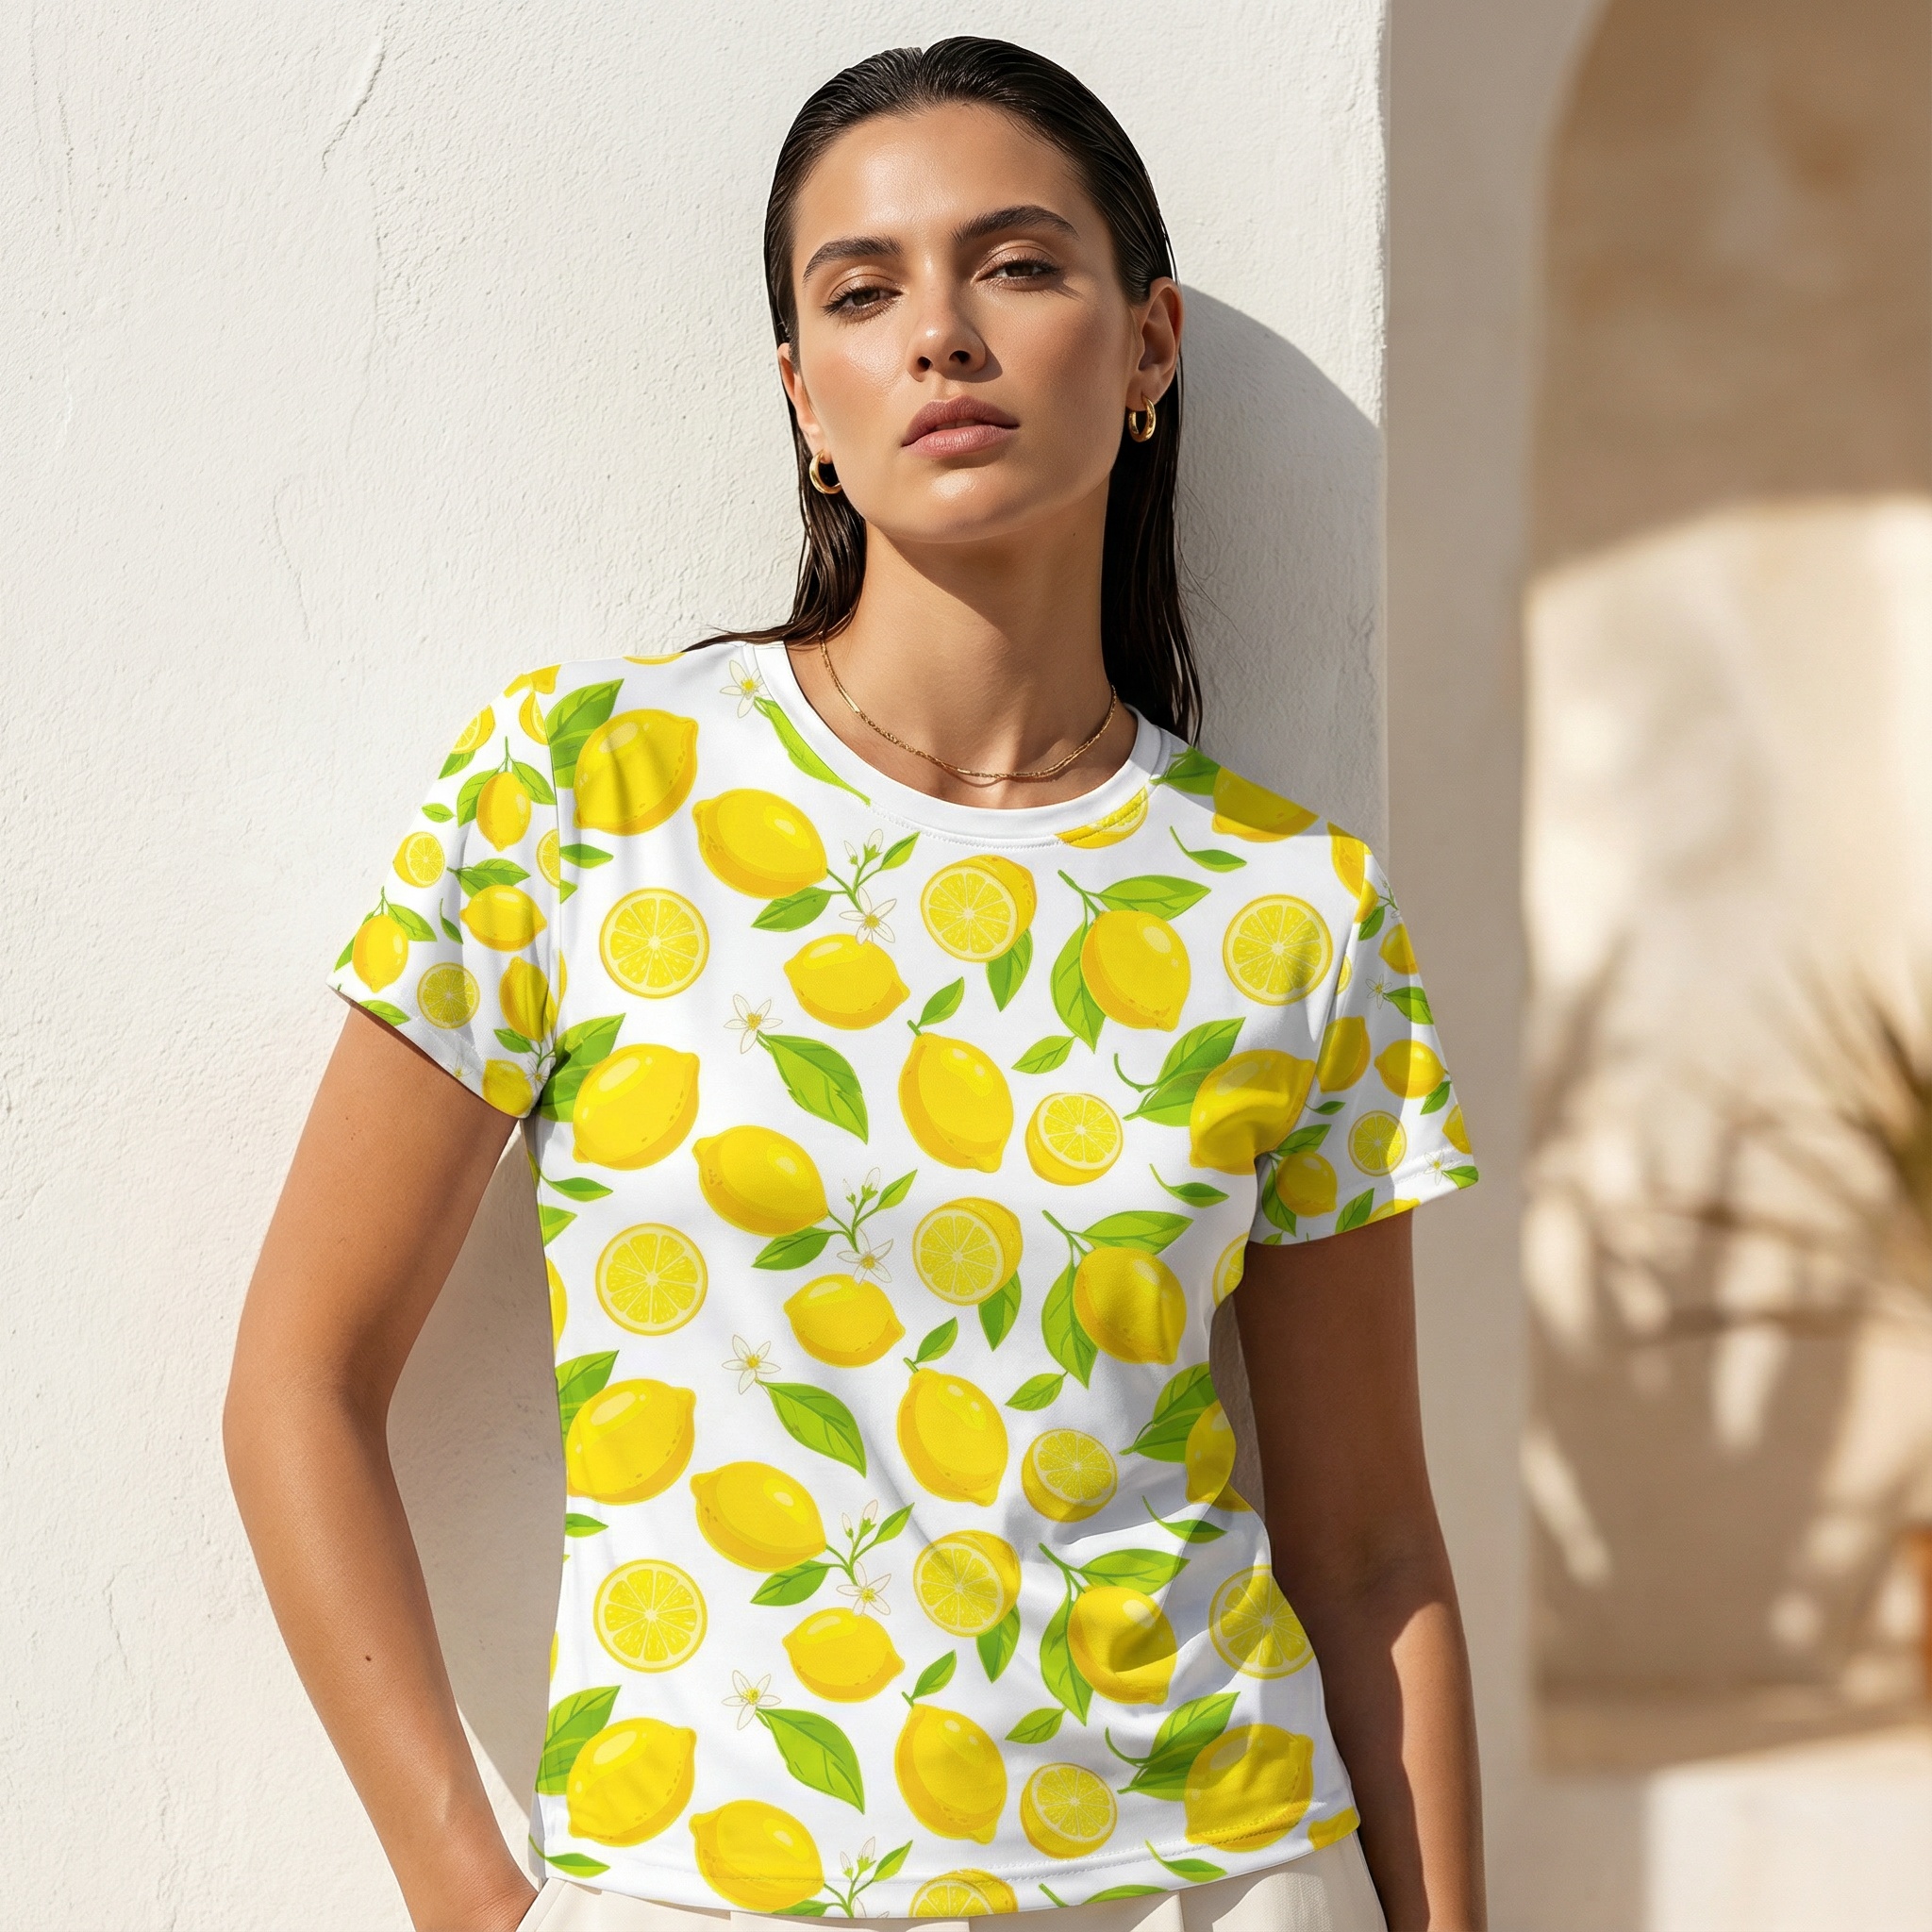 📸 Vogue Preset
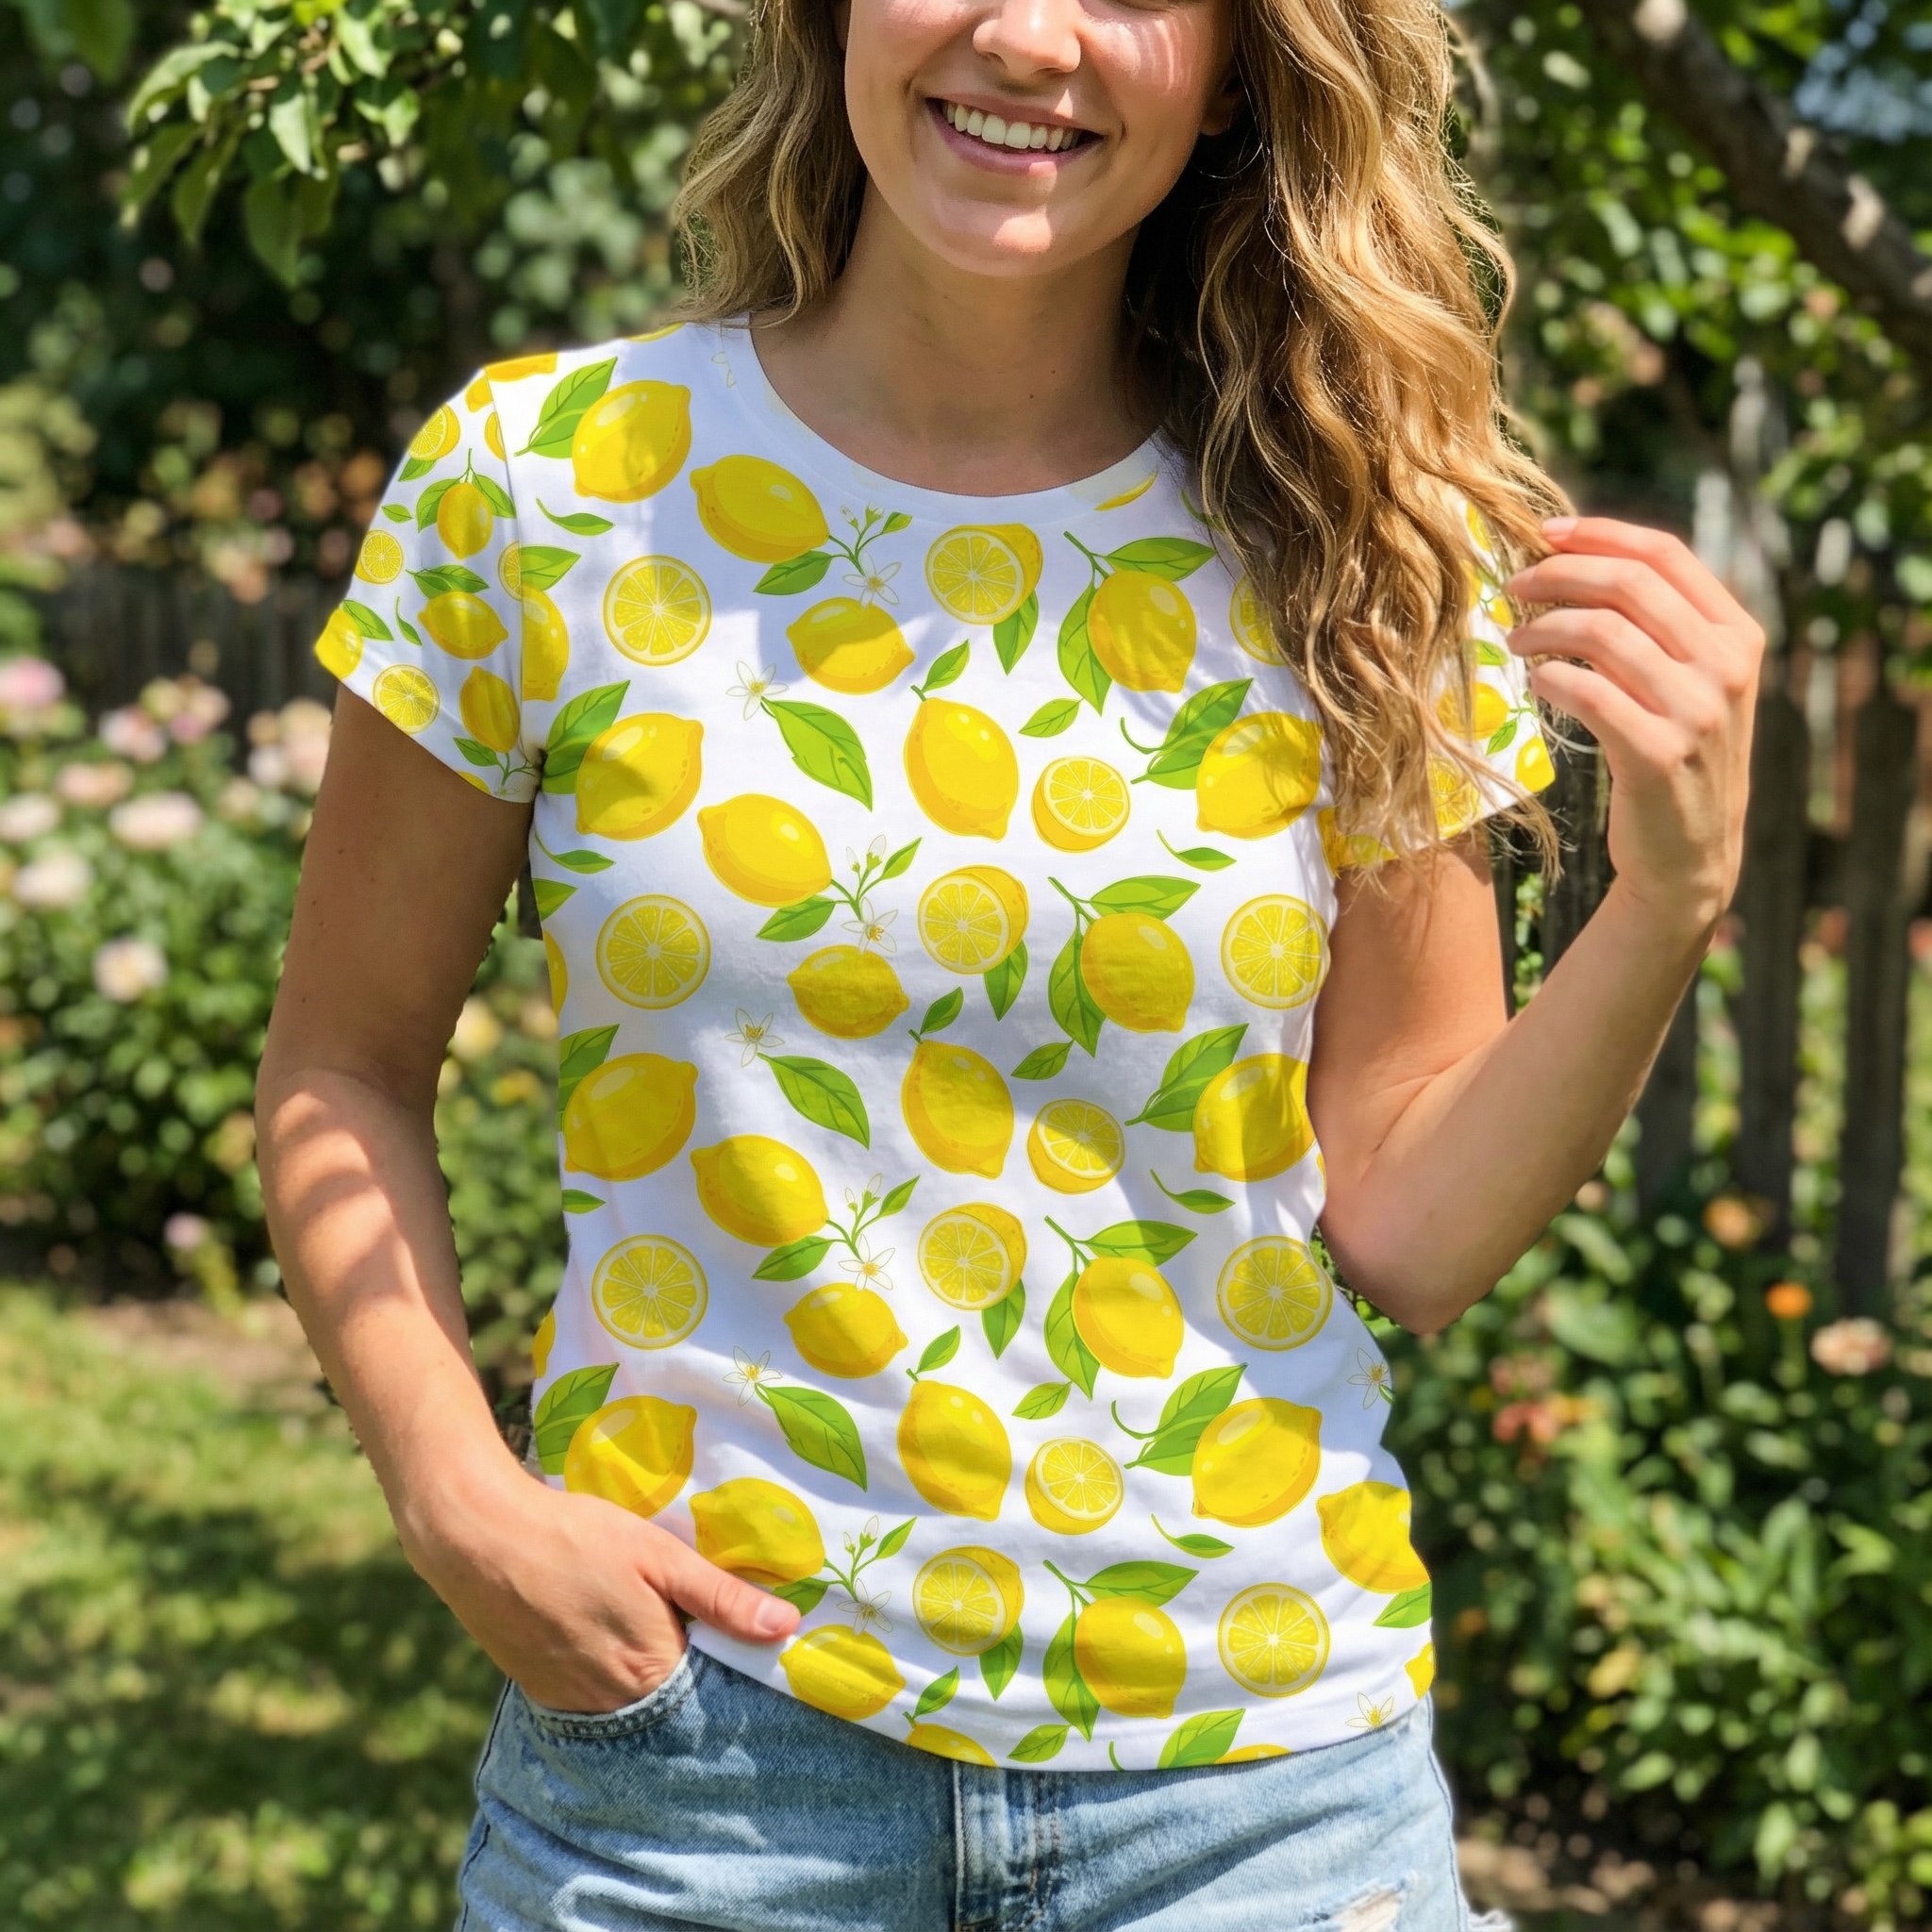 📱 Influencer Preset